
















Laser Printer Toner Clumping and Uneven Toner Output? 3 Consumable Selection Details That Solve 90% of Faults
Laser Printer Toner Clumping and Uneven Toner Output? 3 Consumable Selection Details That Solve 90% of Faults
 2026-11-02
 20


Toner clumping, pale prints, patchy density and constant "toner low" errors are among the most common complaints fromlaser printer users worldwide — and in the vast majority of cases, the root cause is not a broken machine, but a poorly specified replacement consumable. Print quality faults almost never come from a single worn part. They come from a mismatch between toner formulation, imaging components and the specific print engine they are installed in. For office managers, MPS providers and repair technicians, understanding three critical selection details can eliminate the bulk of recurring toner-related failures before they ever reach the customer.
Why Toner Fails: The Real Causes Behind Clumping and Uneven Output
Before comparing specifications, it helps to understand what actually happens inside the cartridge. Toner is a precision-engineered powder that must flow freely, charge consistently and transfer evenly from the developer roller to the drum surface. When any one of these three functions breaks down, the visible symptoms — clumping, streaks, background fog, faded or blotchy pages — are only the surface manifestation.
Three specific consumable selection details determine whether that chain holds. Getting them right is the difference between a cartridge that runs clean for its full rated yield and one that generates returns, service calls and damaged reputations.
Detail 1: Toner Formulation and Anti-Caking Additive Package
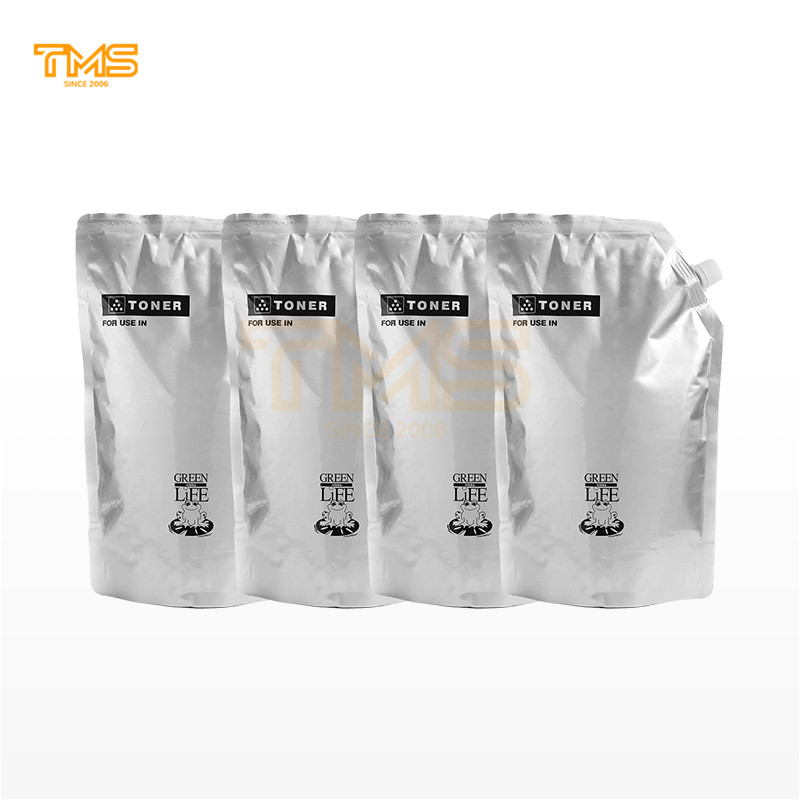
The single most common cause of toner clumping is a weak external additive package. Toner is treated with nano-scale external additives — typically silica, titanium dioxide and occasionally strontium titanate — that coat each particle and prevent it from sticking to its neighbours. High-quality toner uses a precisely balanced, evenly distributed additive layer that preserves powder flowability even after long-term storage or exposure to humid conditions.
Low-cost generic toner frequently cuts corners here, using insufficient or poorly dispersed additives. The short-term result is clumping, hard caked lumps in the cartridge hopper and uneven powder delivery. The long-term result is a damaged developer unit and a drum assembly that needs premature replacement at several times the cost of the original cartridge.
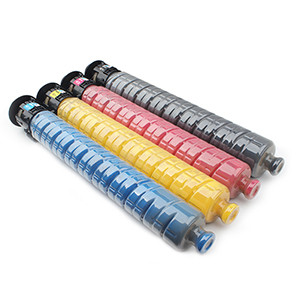
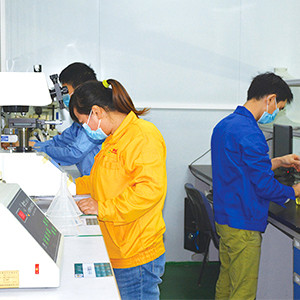
When evaluating a compatible toner cartridge, look for documented additive specifications, verified flowability data and evidence of humidity-chamber testing. TMS, for example, runs every toner batch through controlled humidity exposure tests before release, using imported Japanese toner base material with a fully specified additive package.
Detail 2: Particle Size Distribution (D50) Matching OEM Specifications
Particle size distribution is the second decisive factor, and it is the one most often ignored during procurement. Toner is not a single uniform powder — it is a distribution of particle sizes characterised by the median diameter (D50) and the spread of the curve. A narrow, tightly controlled distribution produces even charge, uniform transfer and smooth, consistent density across the page.
A wide or off-specification distribution produces exactly the symptoms users complain about most: vertical banding, uneven density from left to right, ghosting and excessive background scatter. If the D50 is too coarse, the toner requires more energy to fuse properly, leading to smudged prints. If it is too fine, toner scatters inside the machine, contaminating the drum and fuser.
For any cartridge model, the correct target is the distribution window defined by the original engine manufacturer. Suppliers who publish D50 values and share batch test data give buyers a verifiable basis for comparison — those who do not are asking buyers to take flowability, density and yield entirely on faith.
Detail 3: Hardware-to-Toner Matching — Doctor Blade and Developer Roller Precision
Even perfect toner will fail if the mechanical components around it are not matched to its charge characteristics. This is the third and most technically demanding selection detail.
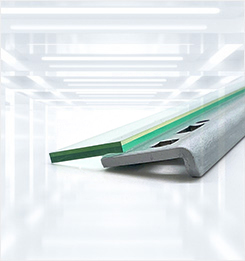
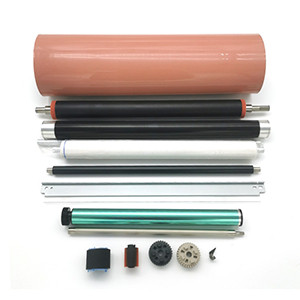
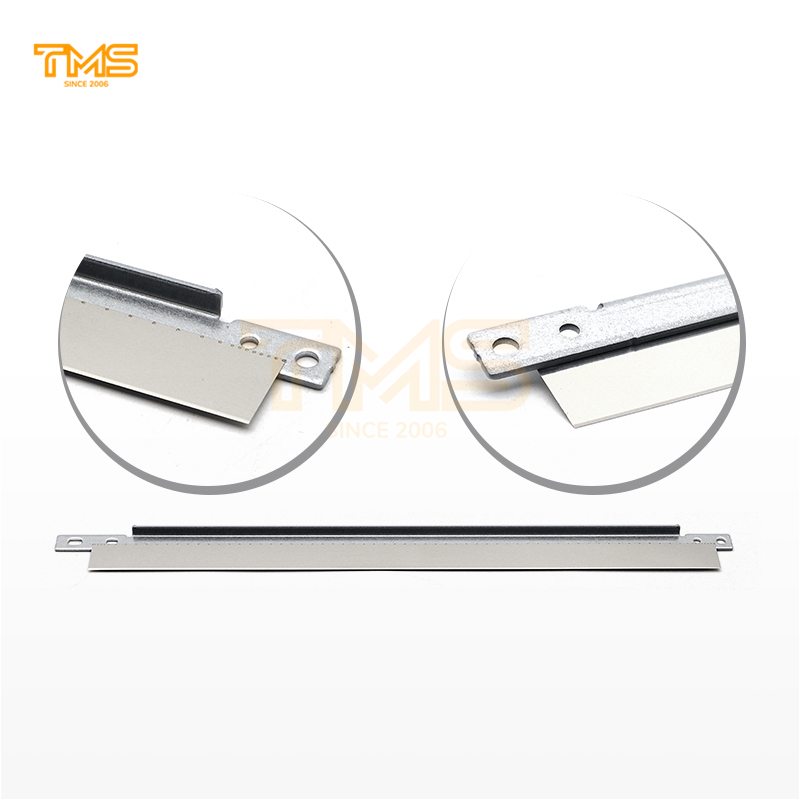
The doctor blade regulates the toner layer thickness on the developer roller. Blade edge tolerance, hardness and the precise pressure it applies must correspond to the toner's particle size and charge behaviour. A blade with an inconsistent edge, or one with unmatched hardness, will produce thick and thin bands, patchy output and toner waste. TMS doctor blades are polished to micron-level edge tolerances and quality-controlled against the toner charges they will actually regulate.
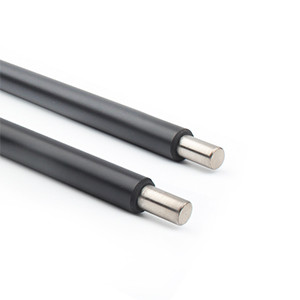
The developer roller performs the complementary function, charging and transporting toner to the drum. Its surface resistance must be uniform across the entire roller length. Resistance variation is a leading cause of colour cast, faded output and blotchy images that persists even after the cartridge is refilled.
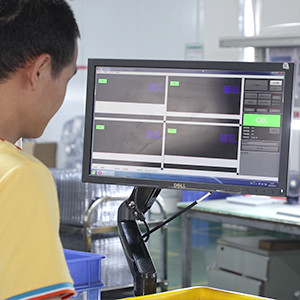
Because these two components work as a matched pair with the toner, sourcing them from one manufacturer — rather than mixing blades, rollers and toner from unrelated suppliers — is what actually eliminates the majority of recurring faults. TMS designs, manufactures and validates the complete set together, testing every batch on real machines for 72 continuous hours before shipment to confirm print density stability from the first page to the rated yield.
Putting It Together: Selection Checklist for Buyers
For procurement teams and service providers, the practical takeaway is a three-point screen applied to every supplier: verified additive and flowability data, published particle size specifications against OEM targets, and blades and rollers supplied as a matched set with the toner.
Get these three right and the great majority of clumping, uneven output and premature failure complaints disappear — not through luck, but because the consumable was actually engineered for the engine it goes into.


